Showing posts with label magnet boards. Show all posts

Monday, February 28, 2011

Matching Game for Magnet Boards

This matching game has been a hit with my kids.  It's really easy to make, too!

Supplies:
  • Flat magnets or magnet strips
  • Laminating sheets
  • Scissors 
  • Artwork of choice - 2 copies
 First, I found several pictures relating to things we do at church.  I colored them and cut them out.

Next, I cut up magnet strips and attached them to the back.  Yes, I did this before laminating them because my daughter loves to pull magnets off.  This keeps them secure inside.

Arrange your artwork on a 5x7 piece of cardstock (you can either print it already arranged, or cut another set and arrange it.  Would be easier and make your magnets work better to print it directly onto the cardstock)

Place the cardstock onto the magnet board and enjoy a nice matching game!  When my kids are reading, I'll make some word magnets to match up and make it a little trickier.

Clipart obtained from lds.org and lds.about.com

Sunday, February 27, 2011

Puzzles for Magnet Boards

The puzzle pieces are super easy, too!  Just find some artwork and size it to 5x7".

Flip it over and assemble a puzzle on the back.  I just grabbed one of my son's puzzles so that I knew the pieces were sized for kids.  Cover the entire picture (it may not use up your whole puzzle.  That's ok!) 

Take off one puzzle piece and trace around the edges of the open area. 

Continue to remove pieces and trace them....

...until the entire back of the picture is covered (note, I fused some pieces together so they weren't too small)

Cut up magnet strips and put them on the back of eace piece.

Laminate the whole sheet.

Cut the puzzle pieces apart

Flip it over and assemble the puzzle on the magnet board! 

I have a billion ideas for activities with these boards, so be sure to check back for more!

Saturday, February 26, 2011

Magnet Activity Board Tutorial

I attempted this in two different ways.  Use what works best for you.
NOTE: these involve metal sheets with sharp edges.  Use caution when creating and using these boards.

Supplies:
  • Con-Ttact Paper (or laminating sheets)
  • 5x7" galvanized flashing (can be found at home improvement stores in the roofing area.  Be sure it's galvanized)
  • Paper to cover edges
  • Tape or glue dots
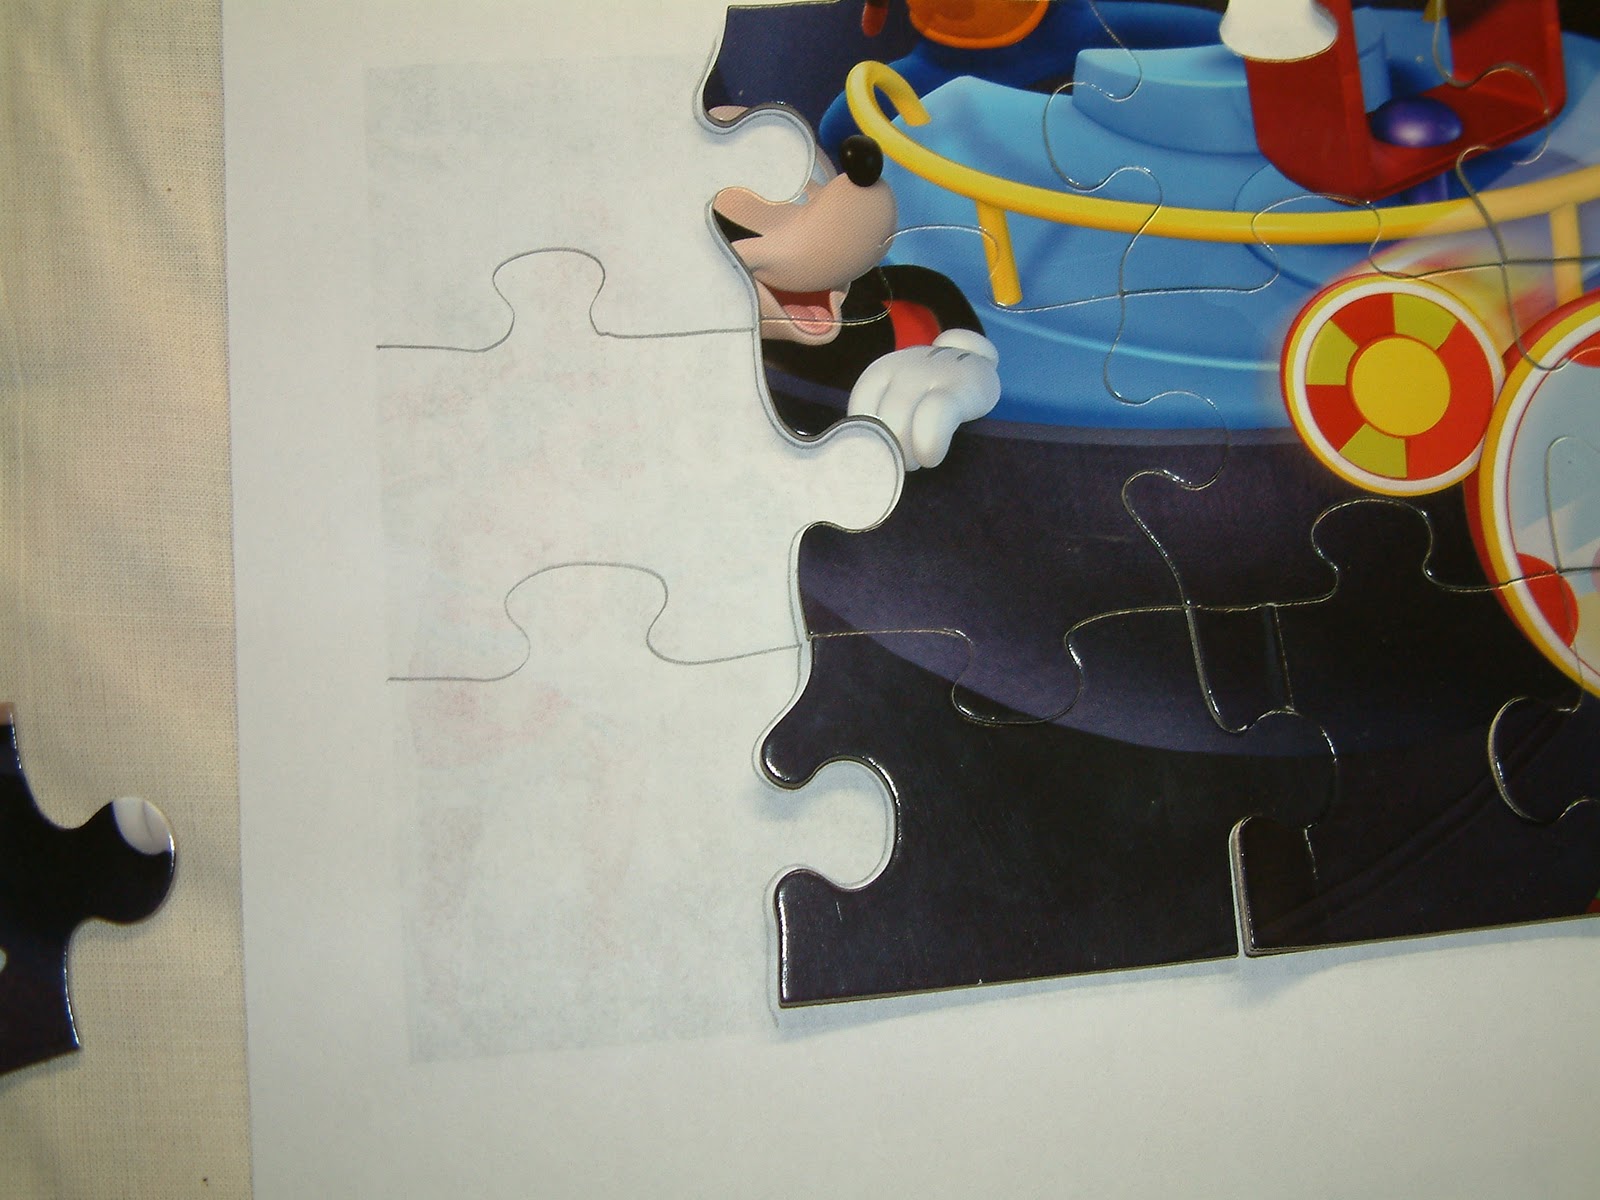
  • Artwork (to be used in next tutorials)
To start, cut strips of paper about 1 inch wide.  Fold them in half over the edges of your flashing.

 
Cover each edge completely.

I found it easier to glue each strip of paper to the metal before the next step.  Just a little glue dot or something will work.

Cut your Con-Ttact paper into strips long enough and wide enough to cover the paper and onto the flashing on both sides (to hold the paper on).  Mine were 1.5" wide by 5" (7" for the longer sides).


Stick the Con-Tact paper over the paper, again so that it goes onto the flashing.  Trim any extra off and, you're done!


I tried to do this by just running the whole flashing sheet with paper attached through my Xyron with the laminating cartridge.  It worked great, except my magnets wouldn't stick as well because of the extra layer.  If you have stronger magnets, you can just laminate the whole sheet to make it easier.  The blue and yellow one (above) was done by laminating the whole thing then cutting the middle out.  The pink one was done with Con-Tact paper just on the edges.
Another side note, you could just buy a magnet board without sharp edges and stay tuned for the upcoming tutorials for the activities that go with the magnet boards!

Thrifty 'N Crafty is not responsible for any injury that may occur from making or using these boards.  Please use caution and supervise use with children, as they do contain sharp edges.

Monday, November 9, 2009

Magnet Board

This is a magnet board I made for my daughter. There are several ways you can do this depending on what tools you have.

Supplies:
  • 11"x14" frame - anything you like will work. You won't need the glass. I know Hobby Lobby has some really nice frames with no glass. If you go that route, you'll need some sort of backing. You can buy a regular frame and just not use the glass if you want.
  • Galvanized flashing (I know Lowe's carries this, and I assume Home Depot does. Make sure it's galvanized, since that's what makes magnets stick to it). This pack of 10 sheets of 5"x7" was only a dollar or two. You'll only need 4 sheets.
  • Paper - any pattern you'd like. I used two different 12"x12" sheets.
  • Mod Podge and sponge brush to apply
  • Hot Glue Gun (optional, but it's quicker to stick your metal down than waiting for Mod Podge to dry)
  • Ribbon (optional, if you want to cover paper seams)
  • Glass beads
  • Magnets (I use the small round silver 10 strength mangets from Hobby Lobby. They're only a few dollars for a pack of 10, and they're super strong so they'll hold through several layers of stuff. Also, they're rarely on sale, so you can use a 40% off coupon. Let me know if you need me to forward one to you!)
First, lay out 4 sheets of the metal on the backing of your frame. This is what it would look like under the paper (except with 2 more sheets right above these two). There will be a little bit on the edge that it doesn't reach to, but that was ok with me. A typical frame will cover most of that anyways. Hot glue the sheets to the backing.


When dry, mod podge over the sheet metal and attach paper. Allow to dry completely. If it's not completely dry, the paper will wrinkle.

Once dry, Mod podge over the paper to protect it from damage. Attach ribbon to cover any seams in the paper. You can add embellishments if you want, too. I plan to add my daughters name to it, eventually.


Put the board into your frame, and you're done with that part.

For the magnets, I actually used various dots from the scraps of paper so the colors all matched. Just glue your bead to a scrap of paper (you can use the Mod Podge again) and let it dry. Cut around the bead once completely dry.


Hot glue a magnet to the back of the paper.


That's it!